


Gentle yoga poses are one of the most effective ways to manage lower back pain. They work by lengthening the spine, easing tight muscles, and quietly building up your core strength. By focusing on simple postures like Child's Pose and Cat-Cow, you can create space, improve your mobility, and find real relief from those persistent aches.
How Yoga Gently Unwinds Lower Back Pain
Lower back pain is a frustratingly common issue for so many of us, often creeping in after long hours spent sitting, from poor posture, or just the daily grind of stress. It’s more than just a passing ache; it can mess with your sleep, your work, and your overall quality of life.
Chronic back problems are incredibly widespread. In fact, it's estimated that 70-90% of people will experience lower back pain at some point.
While a quick fix might feel good for a moment, a consistent, gentle yoga practice offers a much more sustainable solution. It gets to the root causes of the discomfort—like tight hamstrings, weak glutes, and an unsupported core—that are often the real culprits behind that nagging pain. The right yoga poses for lower back pain work to systematically decompress the spine and unwind that deep-seated muscle tension.
Creating Space and Building Strength
Picture your spine as a stack of building blocks. When the muscles around it are tight or weak, those blocks get compressed, which leads to pain. Yoga helps by:
- Lengthening the Spine: Poses like Child’s Pose gently stretch the muscles all along your back, creating a little more space between each vertebra.
- Releasing Tension: Gentle twists and hip openers are brilliant for targeting muscles in the glutes and hips. When these are tight, they can pull on the lower back.
- Building Foundational Strength: Poses such as Bridge Pose strengthen your core and glute muscles, creating a natural "corset" that supports your spine and takes the strain off.
This isn’t about forcing your body into complicated positions. It’s about listening to what your body is telling you and using mindful movement to encourage healing. Research supports this, with studies finding that a consistent yoga program can be just as effective as one-on-one physiotherapy for chronic lower back pain.
A Holistic Approach to Relief
Yoga is so much more than just physical movement; it’s a practice that connects your mind and body. The focus on deep, conscious breathing helps to calm the nervous system, which is often stuck in overdrive when you're dealing with chronic pain. You can take this calming effect even further by creating a soothing sensory experience during your practice.
Setting up a tranquil space can transform your yoga session into a therapeutic ritual. Using an essential oil diffuser with calming scents like lavender or chamomile can deepen relaxation, helping your muscles release tension more effectively.
By combining gentle poses with mindful breathing and a peaceful environment, you’re not just treating the symptoms—you’re creating a long-term strategy for spinal health. And while this guide focuses on yoga, other approaches can also offer comfort. You might find it helpful to learn about quick relief tips for sciatica pain through massage as a complementary practice.
Setting Up Your Sanctuary for a Pain-Free Practice
Before you even think about your first stretch, let’s talk about your space. Creating a supportive, comfortable environment isn't just a nice-to-have; it's absolutely crucial when you're working with a sensitive back. Think of it as your personal sanctuary, a place where you can truly let go and focus on healing.
This all starts from the ground up. A good quality, non-slip yoga mat provides the stability you need to move with confidence. I’ve seen it time and time again—a slippery or flimsy mat makes you tense up to avoid falling, which is the very last thing your lower back needs. The right grip keeps your hands and feet firmly planted, so you can focus on your alignment instead of worrying about a potential slip. If you're new to this, we have a great guide on choosing the right yoga mat for your practice that breaks it all down.
The Power of Props
Yoga blocks and bolsters are going to be your best friends on this journey. They work by bringing the floor closer to you, which makes poses far more accessible and dramatically reduces the risk of overstretching an already unhappy back. Imagine you're in a forward fold and you feel that familiar, sharp pull—placing a couple of blocks under your hands gives you instant support and makes the pose feel nourishing instead of strenuous.
And don't forget your clothes! Tugging at a shirt that's too tight or shorts that ride up is a total distraction. Comfortable, non-restrictive women's yoga activewear is vital so you can move freely without anything pinching or binding. The right gear lets you focus entirely on the sensations in your body.
Think of props not as a crutch, but as intelligent tools that empower you to adapt each pose to your body's unique needs. Using a block or cushion isn’t a sign of weakness; it’s a sign of wisdom.
Essential Support for Seated Poses
For so many people, just sitting on the floor can immediately trigger lower back pain. This is where a Zabuton meditation cushion becomes an absolute game-changer. These large, padded mats provide that essential cushioning under your knees and hips, helping you maintain a healthy, neutral spine without effort.
By slightly elevating your hips, a good cushion allows your spine to lengthen naturally, taking all that compressive pressure off your lumbar region. It’s a simple shift that can transform a challenging seated posture into a genuinely restorative one.
To make it even clearer, here’s a quick breakdown of the essential tools that I recommend for any back-friendly yoga session.
Your Essential Toolkit for Back-Friendly Yoga
This table breaks down the props that support a safe and effective yoga practice for lower back pain relief.
| Prop | Primary Benefit for Lower Back Pain | How It Helps |
|---|---|---|
| Non-Slip Yoga Mat | Provides stability and joint protection. | Prevents slipping, allowing you to hold poses with proper alignment and less muscle tension. |
| Yoga Blocks | Modifies poses and reduces strain. | Brings the floor closer to you in forward folds and lunges, preventing overstretching. |
| Zabuton Cushion | Supports a neutral spine in seated poses. | Elevates the hips, reducing pressure on the lumbar spine and making meditation comfortable. |
Having these simple items on hand can make a world of difference, turning your practice from something you have to endure into something you truly look forward to.
Foundational Poses to Gently Release Tension
When your lower back is nagging you, the thought of twisting into complex yoga poses can be pretty off-putting. The secret is to start with gentle, foundational movements that are all about release, not strain. We're going to walk through a few simple but incredibly effective postures designed to decompress the spine, encourage a little bit of mobility, and start melting away that stubborn tension.
The goal here isn't about pushing your limits. It’s about tuning in and really listening to what your body needs. Every movement should feel like a deep sigh of relief for your muscles, not another source of stress.
Before we jump in, it helps to get your space ready. This simple flow shows you how to set yourself up for a calming, supportive practice.
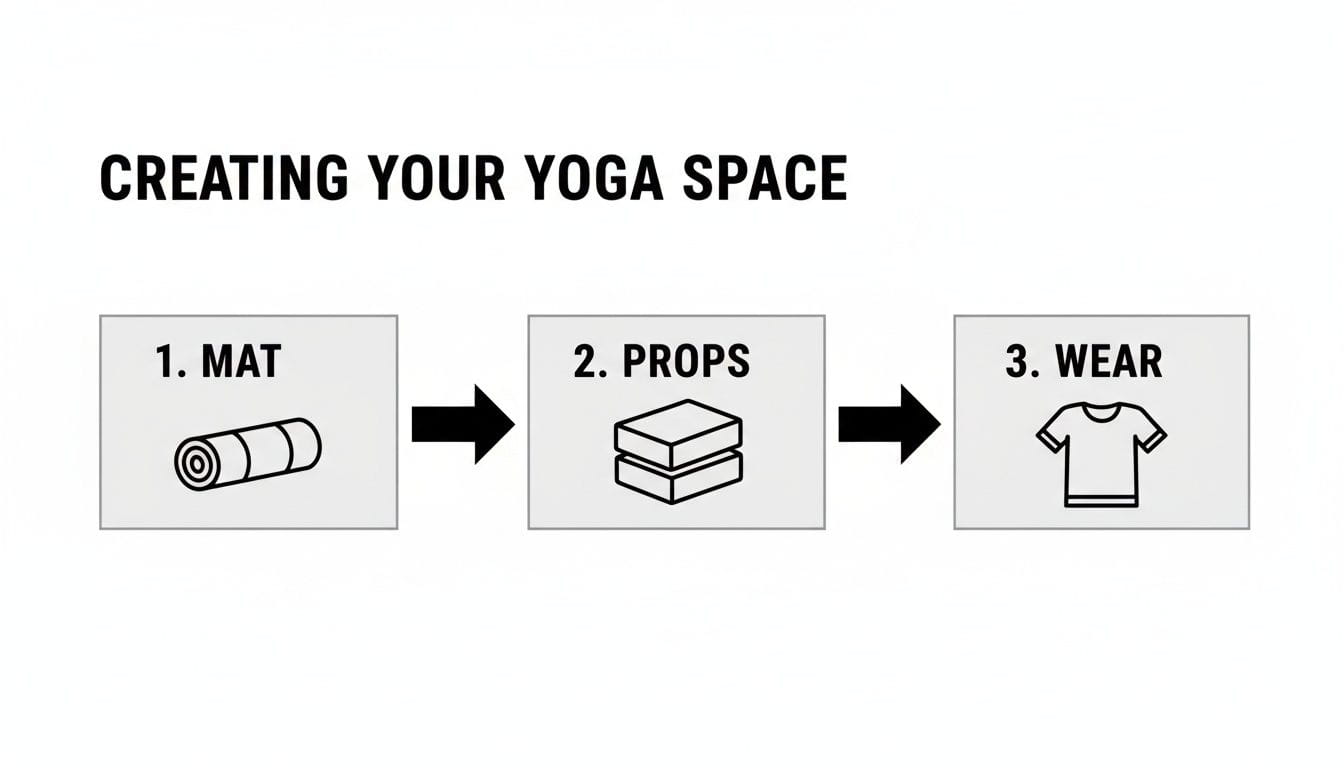
It’s all about the essentials: a good mat, a few helpful props to bring the floor closer to you, and comfortable clothes you can move in.
Child's Pose (Balasana): The Ultimate Release
Child's Pose is often called a resting pose, but don't let that fool you—it's incredibly active when it comes to relieving back pain. It gently lengthens the entire spine, getting right into the lumbar region where so much of our tension builds up. Think of it as a safe haven you can come back to anytime you need it.
How to get into it:
- Start on your hands and knees. Bring your big toes together and let your knees go a little wider, maybe as wide as your mat.
- On an exhale, gently sink your hips back toward your heels. They don't have to touch; just go as far as feels good.
- Fold your torso forward, letting it rest between or on top of your thighs, and allow your forehead to rest softly on the mat.
- Your arms can either stretch out in front of you with palms down, or you can rest them alongside your body with the palms facing up.
- Breathe: Direct deep, slow breaths into your lower back. Imagine each inhale is creating space, and each exhale is letting go of tension. Stay here for 30 seconds to a minute.
If your forehead doesn't quite reach the floor, no worries. Just slide a folded blanket or a yoga block underneath for support. This tiny adjustment keeps your neck neutral and prevents any extra strain. Getting comfortable with props is a game-changer; you can learn more about incorporating yoga cork blocks to make your practice even more supportive.
Cat-Cow (Marjaryasana-Bitilasana): For Gentle Spinal Mobility
This flowing movement is a true cornerstone of yoga for back health. It’s perfect for gently warming up the spine, improving flexibility, and boosting circulation to the discs between your vertebrae. Of all the foundational poses for releasing tension, the Cat Cow Stretch is one of the most effective.
This fluid motion coaxes your spine through its natural range of flexion and extension without putting any pressure on it.
How to flow through it:
- Begin on all fours. Make sure your wrists are stacked directly under your shoulders and your knees are right under your hips.
- Inhale (Cow Pose): Let your belly drop toward the mat as you lift your chest and tailbone, gazing slightly forward. You're creating a gentle dip in your spine.
- Exhale (Cat Pose): Press through your hands to round your spine up toward the ceiling. Tuck your chin toward your chest and scoop your tailbone under.
- Breathe: Keep flowing between Cow on your inhales and Cat on your exhales for 5-10 full, slow breaths. Try to start the movement from your tailbone and let it ripple all the way up your spine.
A little tip for Cat-Cow: move slowly and with intention. Rushing through it completely misses the point. The real magic happens when you connect your breath to the movement, creating a kind of moving meditation that soothes your back.
Sphinx Pose (Salamba Bhujasana): A Mild and Strengthening Backbend
Lots of people with lower back pain steer clear of backbends, but a gentle one like Sphinx Pose can be incredibly therapeutic. It helps strengthen the muscles that support your spine and opens up the chest to encourage better posture. It also gives your abdominal muscles a mild stretch, all without putting a heap of pressure on your lower back.
How to practise it:
- Lie on your stomach with your legs stretched out behind you, about hip-width apart.
- Bring your elbows directly under your shoulders and place your forearms on the floor, parallel to each other.
- Inhale: Gently press down through your forearms and palms to lift your head and chest away from the floor.
- Keep your pubic bone gently pressing into the floor—this is key to protecting your lower back. Look straight ahead and keep your neck nice and long.
- Breathe: Hold for about 30 seconds, breathing steadily. When you're ready to come out, gently lower your chest and head back down to the mat.
These three poses create a powerful yet gentle foundation for relieving lower back pain. They don't ask for much effort but offer huge benefits, making them perfect for anyone just starting out or for those days when your back is having a flare-up. Weaving them into your daily routine can create lasting change, helping you move from simply managing pain to building long-term spinal health.
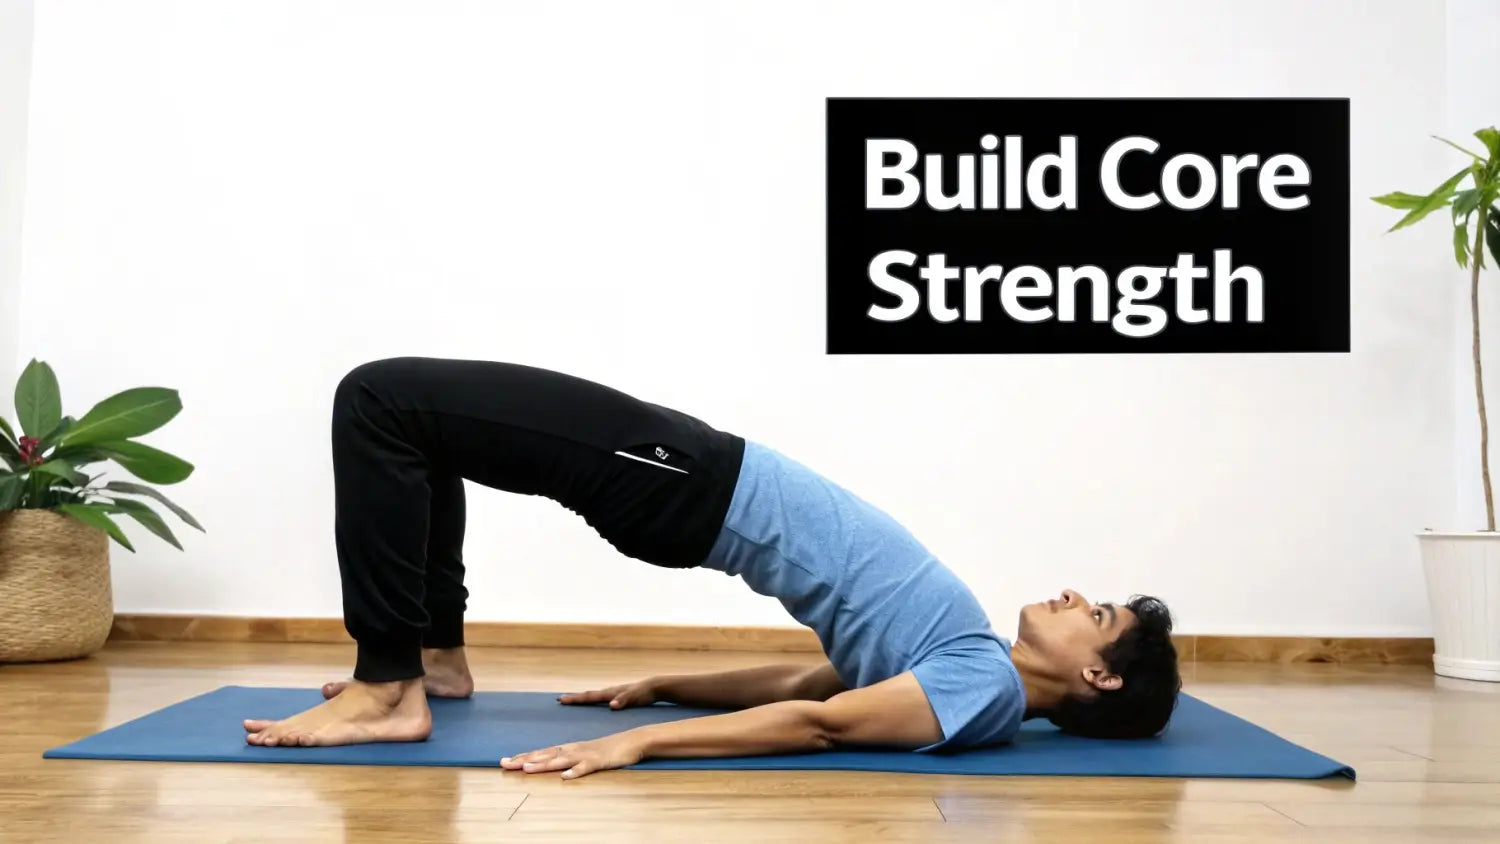
Building Core Strength for Long-Term Support
Stretching is fantastic for that immediate, feel-good relief when your back is aching, but building foundational strength is your best long-term defence against it coming back. While we've already covered poses that offer a gentle release, we're now shifting focus to poses that stabilise your core, glutes, and back muscles.
Think of these muscles as a natural corset that supports your spine. When they're strong, they take the pressure off your sensitive lower back during everyday movements. Engaging them is one of the most important things you can do for lasting spinal health.
Bridge Pose (Setu Bandhasana) for Glute and Hamstring Power
Bridge Pose is an absolute powerhouse for strengthening your entire posterior chain—that’s the group of muscles running along the back of your body, including your glutes and hamstrings. Firing up these muscles is one of the most effective ways to create stability for your pelvis and lumbar spine.
How to practise it safely:
- Lie on your back on a comfortable yoga mat with your knees bent and feet flat on the floor, about hip-width apart. You should just be able to graze your heels with your fingertips.
- Rest your arms alongside your body, palms facing down.
- On an exhale, press firmly through your feet and lift your hips. The real trick here is to squeeze your glutes to initiate the lift, rather than using your lower back.
- Keep your thighs parallel to each other and hold for 20-30 seconds, breathing steadily.
- To come down, slowly lower your spine back to the mat, one vertebra at a time.
For an added challenge, you can explore our guide on how to use resistance bands by placing a band just above your knees and pressing outward as you lift.
Supine Spinal Twist (Supta Matsyendrasana) for Gentle Decompression
While this is mainly a stretch, the Supine Spinal Twist also gently engages your obliques (the muscles on the sides of your core) to control the movement. This makes it a fantastic two-for-one pose for both release and stability. It helps to hydrate the spinal discs and release deep-seated tension in the lumbar region without any strain.
This pose is particularly brilliant because it gives you the decompressing benefits of a twist without putting pressure on the upper body. Research has shown that while yoga can sometimes cause new pain, it significantly improves existing conditions in the vast majority of cases. In fact, one notable study found that yoga improves pain in 74% of ongoing cases. Discover more insights on these yoga findings from the University of Sydney's research.
How to get into the pose:
- Lying on your back, hug both knees into your chest for a moment.
- Extend your arms out to the sides in a 'T' shape, with your palms facing down.
- As you exhale, gently let both knees drop over to your right side. Try to keep both shoulders grounded on the mat.
- Turn your gaze to the left, but only if it feels comfortable for your neck.
- Hold here for 30-60 seconds, breathing into the stretch you feel along your side and lower back.
- On an inhale, use your core to draw your knees back to the centre, then repeat on the other side.
Legs-Up-the-Wall (Viparita Karani) for Restorative Recovery
After any strengthening work, it’s vital to let your body recover. Legs-Up-the-Wall is a deeply restorative pose that calms the nervous system and helps reduce inflammation in your lower body and back. It reverses the effects of gravity, encouraging lymphatic drainage and soothing tired muscles.
This pose is less about effort and more about surrender. It's an opportunity to let go completely, allowing your body to enter a state of deep rest and repair, which is just as important as the active strengthening work.
How to set up for relaxation:
- Start by sitting sideways with one hip as close to a wall as you can get.
- From there, gently swing your legs up the wall as you lie back onto the floor.
- Shuffle your hips closer to the wall until you feel a comfortable stretch in your hamstrings. Don't worry if your sitting bones don't touch the wall.
- Let your arms rest by your sides, palms up. Close your eyes and breathe deeply for 5-10 minutes.
To support your body's recovery after your practice, refuelling is key. A smoothie with a scoop of our plant-based vegan protein powder can help repair your muscles. Following that with a calming cup of Blue Lotus tea is a perfect way to soothe your nervous system and deepen the benefits of your restorative poses.
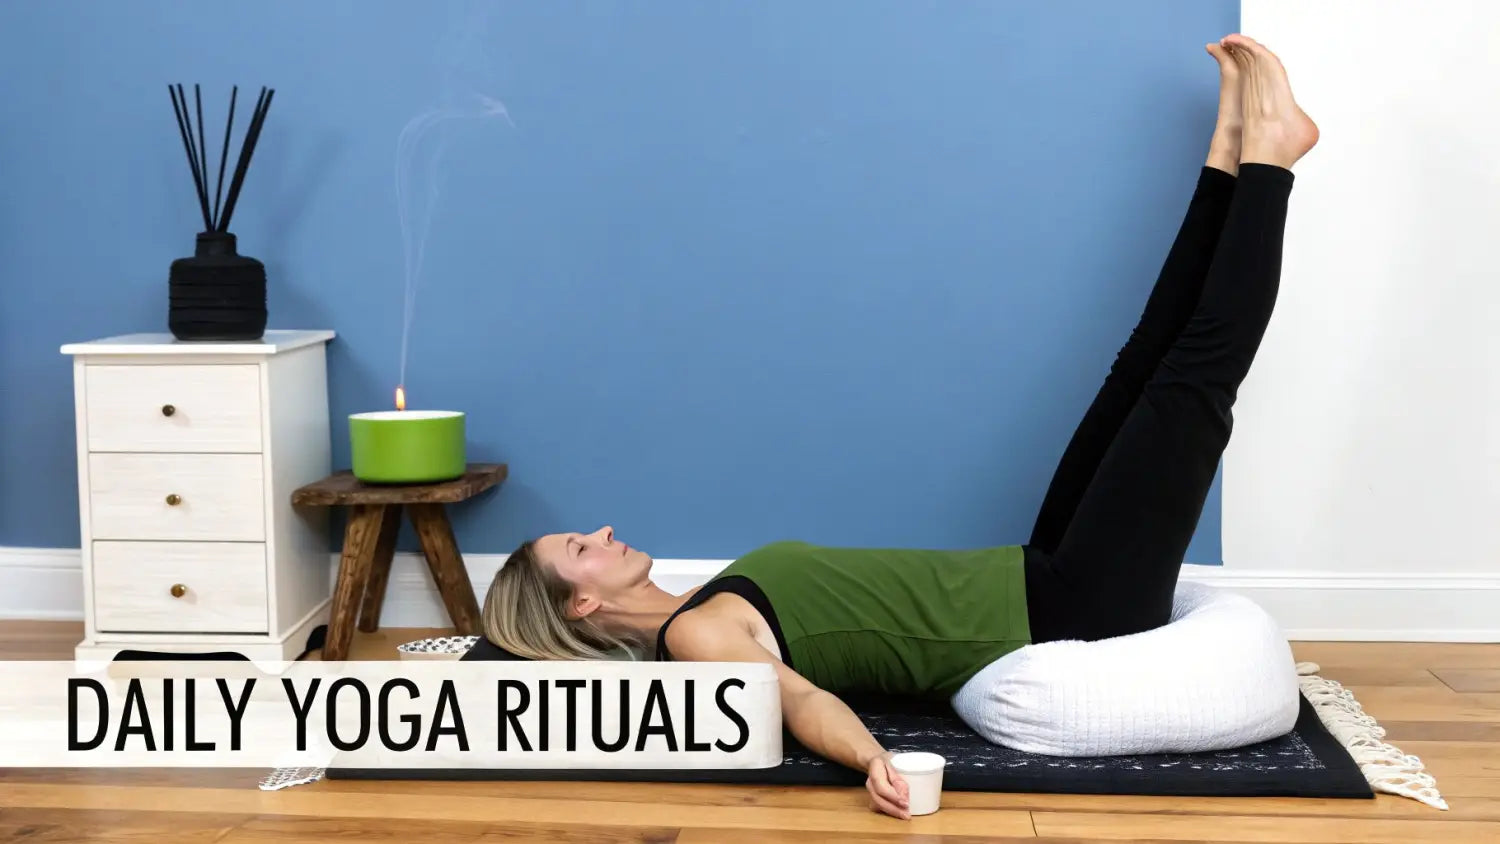
Simple Morning and Evening Yoga Rituals
The real secret to lasting relief isn’t a single, intense yoga session. It’s the small, consistent rituals you weave into your day that make all the difference. When you create regular opportunities for your spine to decompress and for tight muscles to release, you turn a few simple stretches into a powerful pain management tool.
It’s all about making mindful movement a non-negotiable part of your routine, just like brushing your teeth. Starting and ending your day with this kind of intention can completely reframe your relationship with your body, especially when it’s feeling sensitive. These routines are designed to be short, gentle, and deeply nourishing.
The 10-Minute Morning Mobiliser
Waking up stiff and achy is a frustrating way to begin the day. This quick sequence is designed to gently wake up your spine, get the blood flowing, and prepare your body for whatever is ahead—all before your first coffee.
- Child’s Pose (Balasana) - 2 minutes: Start here to gently lengthen your entire spine. Breathe deeply right into your lower back, imagining each inhale creating a little more space between your vertebrae.
- Cat-Cow (Marjaryasana-Bitilasana) - 3 minutes: For about 10 rounds, flow slowly and intentionally between these two poses. This is less about speed and more about feeling the gentle movement of each segment of your spine.
- Gentle Supine Twist (Supta Matsyendrasana) - 2 minutes per side: Lie on your back and let both knees gently fall to one side. This is a fantastic, strain-free way to release tension in the lumbar region.
- Bridge Pose (Setu Bandhasana) - 1 minute: We'll finish by waking up your glutes. Do 2 or 3 slow lifts, holding each for a few breaths to activate the very muscles that support your lower back.
To elevate this ritual, consider swapping your morning coffee for a vibrant bowl of ceremonial grade matcha powder to give you calm, focused energy. You can also add a scoop of Teelixir mushroom extracts to support your body’s overall resilience.
The 15-Minute Evening Unwind
After a long day of sitting, standing, or just dealing with life, your lower back can feel tight and compressed. This calming routine uses restorative poses to release that built-up tension, soothe your nervous system, and set you up for a night of deep, restful sleep.
Your evening practice is a signal to your body that it’s time to let go. Creating a calming atmosphere with an essential oil diffuser and a few drops of lavender can make these poses feel even more profoundly relaxing.
Here’s a simple flow to help you unwind completely:
- Knees-to-Chest - 2 minutes: Lying on your back, gently hug your knees in. Try a slow rock from side-to-side—it’s like giving your lower back a little massage against the floor.
- Happy Baby (Ananda Balasana) - 2 minutes: This pose feels amazing for opening the hips and releasing the sacrum, an area often connected to lower back discomfort.
- Sphinx Pose (Salamba Bhujasana) - 2 minutes: This is the perfect antidote to hunching over a desk all day. It’s a very gentle backbend that strengthens the spine without any compression.
- Legs-Up-the-Wall (Viparita Karani) - 9 minutes: And for the grand finale, the ultimate restorative pose. This helps reduce inflammation, calms your entire nervous system, and soothes a tired, aching back.
For an even deeper recovery, try a quick session in a portable ice bath beforehand to tackle any inflammation from the day. Follow your yoga with a soothing cup of herbal tea, and your body will know it's time to rest.
Practicing Safely and Knowing Your Limits
While the right yoga poses for lower back pain can feel incredibly healing, your safety has to come first. The whole point is to create relief, not add to the problem. This means learning to listen carefully to your body’s unique signals and respecting its limits on any given day.
Moving with awareness is everything. Your body will tell you when a movement isn’t right, but you have to be paying attention. A gentle, releasing stretch is good; a sharp, shooting, or electric pain is a clear signal to stop immediately. Pushing through that kind of pain is never a good idea and can easily make an existing issue much worse.
Red Flags to Watch For
It’s vital to know when you should pause your practice and seek professional advice. Certain symptoms are more than just typical muscle soreness and shouldn't ever be ignored.
- Sharp or Radiating Pain: If a pose creates a stabbing sensation or pain that travels down your leg (a classic sign of sciatica), gently back out of the position.
- Numbness or Tingling: Any feelings of pins-and-needles or a loss of sensation in your back, legs, or feet during a stretch are significant red flags.
- Weakness: If you suddenly feel weakness in a limb while holding a pose, that's your cue to stop and consult a healthcare professional.
These signs can indicate that you might be aggravating a nerve or a more serious underlying condition.
Remember this simple rule: "No pain, no pain." The old saying "no pain, no gain" absolutely does not apply when you're practicing yoga for therapeutic relief. Your focus should be on gentle release and mindful movement, not pushing your boundaries.
When to Consult a Professional
If you have a pre-existing condition like a herniated disc, spinal stenosis, or have recently had a back injury, it is crucial to get clearance from your doctor or a physiotherapist before starting any new routine.
Once you have the green light, finding a qualified yoga instructor with experience in therapeutic applications is a fantastic next step. An experienced teacher can offer personalised modifications, ensuring your practice is both safe and effective for your specific needs. They can help you continue your journey toward a pain-free back with confidence and expert support.
Your Questions Answered
When you're dealing with a sore back, it's natural to have a few questions before you roll out your mat. Let's clear up some of the most common ones so you can move forward with confidence.
How Often Should I Be Practising Yoga for My Back?
When it comes to back pain, consistency beats intensity every single time. Forget about gruelling, hour-long sessions.
You’ll get far more benefit from a gentle, focused practice of 15-20 minutes, 3-4 times a week. This gives your muscles time to adapt and strengthen without feeling overworked. On days when your back feels extra sensitive, just stick to something deeply restorative, like a simple Child's Pose on your favourite yoga mat.
Is It Possible for Yoga to Make My Back Pain Worse?
Honestly, yes—if you push too hard or use the wrong form. Certain poses, especially deep forward folds with straight legs or backbends without proper support, can put a lot of strain on the lumbar spine.
The most important thing is to listen to your body. Never, ever push through sharp pain.
The golden rule here is simple: if you feel a sharp, shooting, or radiating sensation, stop immediately. Using props for support and moving slowly and mindfully are your best defences. If you find your pain is consistently worse after a session, it's time to check in with a healthcare professional.
What’s the Best Pose for Instant Relief?
While everyone's body is unique, Child's Pose (Balasana) is pretty much the universal go-to for immediate lower back relief.
It’s a beautiful pose that gently lengthens your entire spine, creating a passive release for tight lumbar muscles. It also encourages the kind of deep, calming breaths that help settle your nervous system right down. It's safe, accessible, and you can come back to it whenever you feel a twinge.
Can I Still Do Yoga if I Have a Condition Like Sciatica?
If you're navigating a specific diagnosis like sciatica or a herniated disc, it's absolutely crucial that you chat with your doctor or physiotherapist before starting yoga.
They can give you tailored advice on which movements will help your recovery and, just as importantly, which ones you need to avoid. A qualified professional will help you build a practice that supports your healing journey, rather than getting in the way of it.
At Wellness Apothecary, we're here to support your journey to a healthier, more comfortable body. From supportive props to nourishing supplements, you'll find everything you need to create your own healing practice at Wellness Apothecary.


